Mastering Timelapse Photography: Make Timelapse from Photos
In today's visually driven world, the art of timelapse photography has emerged as a captivating way to tell a story. This technique allows photographers to compress hours or even days into shareable snippets; it’s the bridge between photography and videography. If you're eager to make timelapse from photos, you're in the right place. At Bonomotion, we offer comprehensive guidance tailored for both budding photographers and seasoned professionals.
Understanding Timelapse Photography
Timelapse photography involves taking a series of photos at set intervals over a period of time, then compiling these frames into a video. Here's a breakdown of how this fascinating concept works:
What is Timelapse Photography?
At its core, timelapse photography captures changes that occur within a scene over time. Unlike standard video, which captures movements continuously, timelapse utilizes photographs shot at specific time intervals. This method allows events that happen slowly—like the transition of day to night or the blooming of a flower—to be compressed into a shorter, easier-to-digest format.
How Does Timelapse Photography Work?
- Setup & Planning: Decide what you want to capture. Will it be a sunset, a bustling cityscape, or nature in motion?
- Interval Setting: Determine how often you want to take a photo. This could range from a few seconds to several minutes, depending on the speed of the action you’re capturing.
- Filming: Keep your camera steady using a tripod. The key is to maintain the same frame throughout the duration.
- Post-Processing: After capturing your images, you'll need software to compile the photos into a video format.
Choosing the Right Equipment
While it's possible to create a timelapse with just about any camera, having the right equipment can significantly enhance the quality of your work. Here are essential tools you might consider:
Camera
A DSLR or mirrorless camera with manual settings is ideal. They allow for greater control over exposure, aperture, and focus, which is crucial in maintaining consistency across your timelapse sequence.
Lens Selection
Your choice of lens can hugely impact the final outcome. Wide-angle lenses are great for landscapes and dramatic skies, while macro lenses excel in showing minute details in nature.
Tripod
A sturdy tripod is non-negotiable. You need your camera to remain stable throughout the shooting period to avoid any inconsistencies in framing.
Intervalometer
This device automates the shooting process, allowing you to set intervals between shots. Many modern cameras have this feature built-in, but an external intervalometer can provide extra options for customization.
Steps to Make Timelapse from Photos
Now that you’re equipped with the right tools, let's dive into the intricate steps of how to make timelapse from photos.
1. Planning Your Scene
Select a scene that showcases transformation. Great options include:
- Sunrises and sunsets
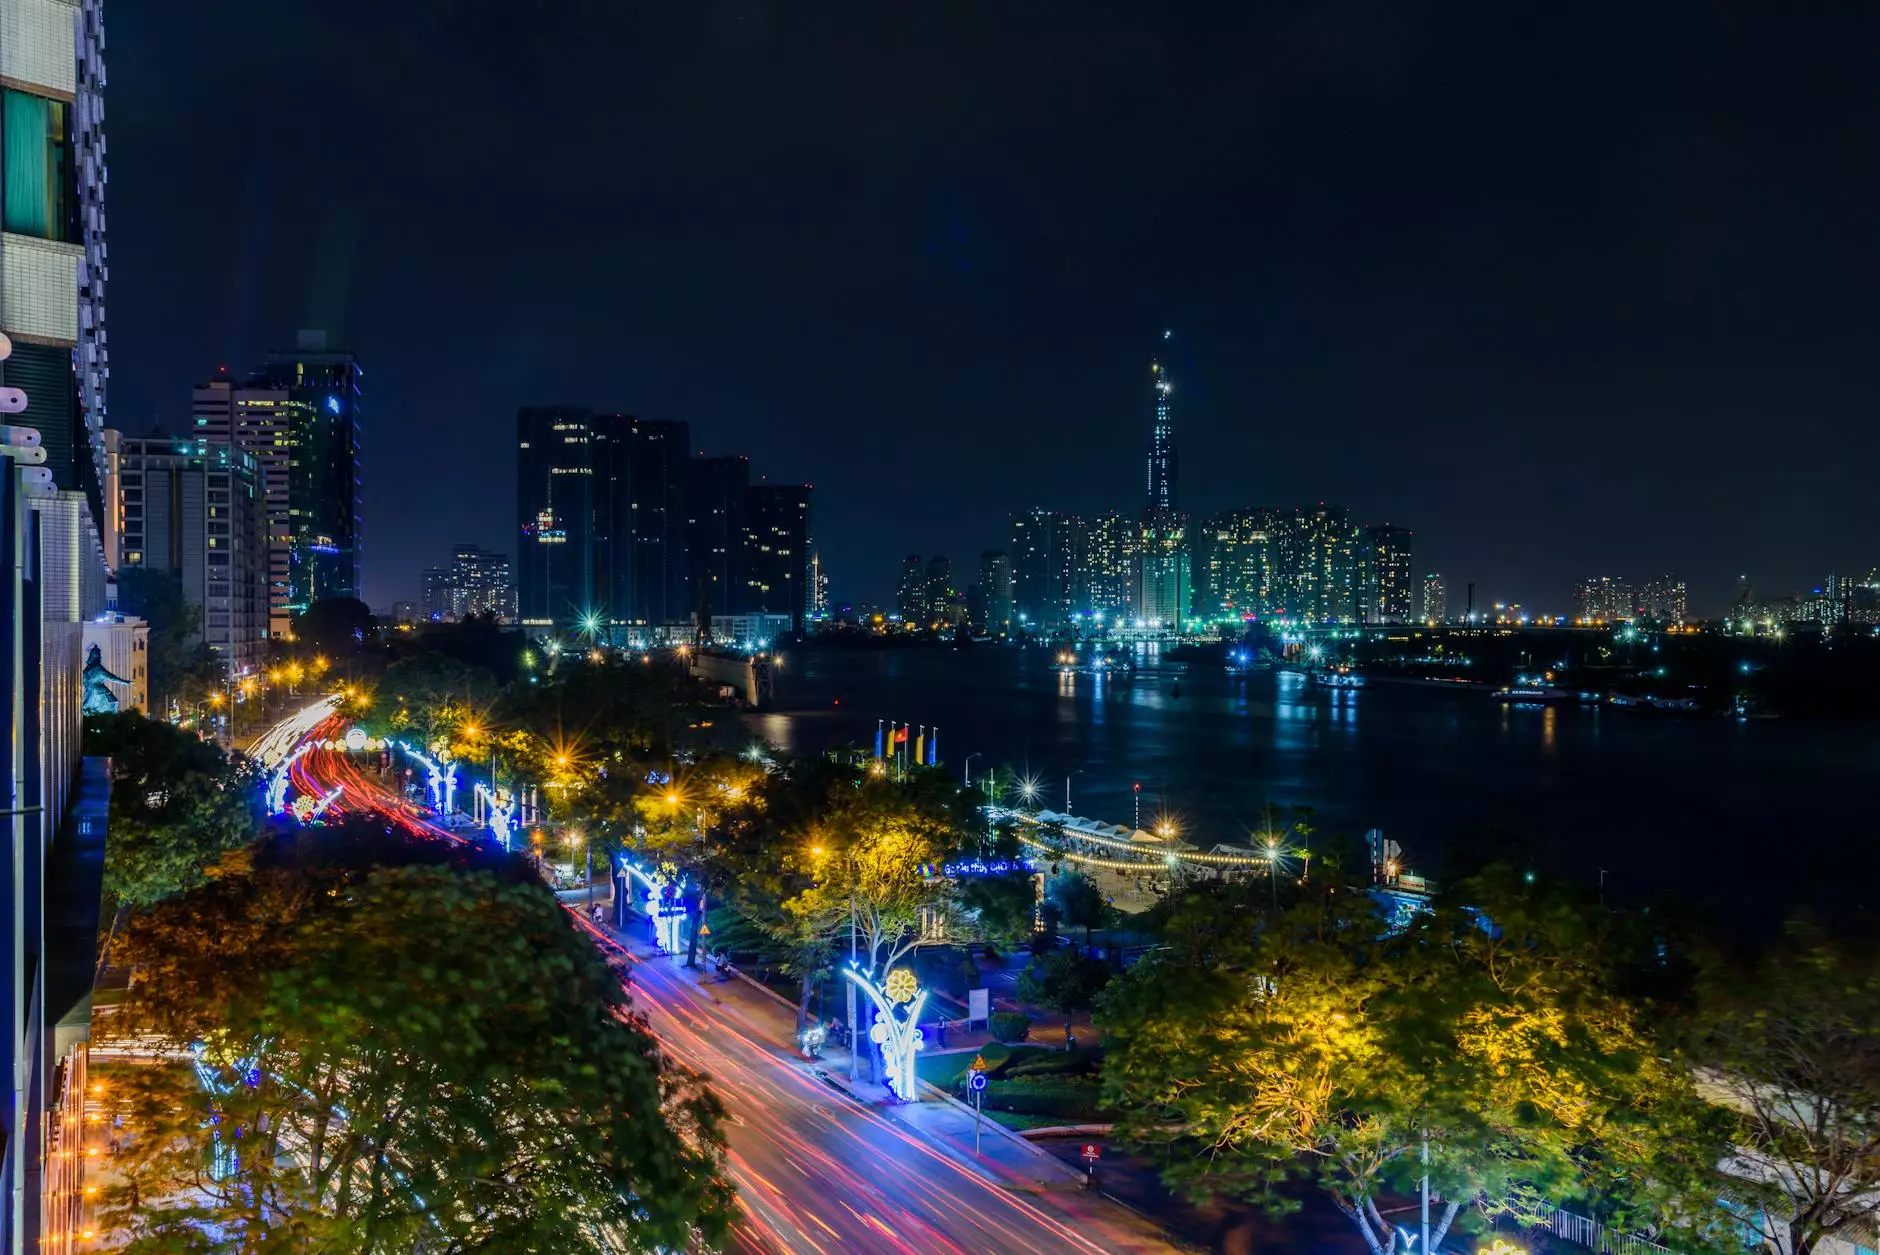
- Crowded urban areas
- Weather changes
- Growth of plants and flowers
2. Setting Up Your Camera
Once you’ve selected your scene, set up your camera on a sturdy tripod. Ensure that it’s level and framed perfectly. Adjust your camera settings for manual mode, focusing on:
- Aperture: Decide how much depth of field you require; a larger f-stop value is often preferred for landscapes.
- ISO: Choose the lowest setting that allows you to get adequate exposure to minimize noise.
- Shutter speed: This may require some experimentation. A slower shutter speed can capture more movement, but can also lead to motion blur.
3. Capturing the Images
Using your intervalometer, set the intervals and start shooting. Ensure you have enough battery and memory card space, as you'll be taking numerous shots.
4. Gathering Your Photos
Once you've completed the shoot, download your photos to your computer. Organize them in chronological order to streamline the editing process.
5. Editing and Compiling the Timelapse
Use video editing software to compile your photos into a moving sequence. Below are some popular choices:
- Adobe Premiere Pro: A professional choice offering comprehensive editing capabilities.
- Final Cut Pro: Excellent for Mac users, equipped with advanced features.
- iMovie: A simpler tool for Mac users looking to start with basic edits.
- VirtualDub: Free software for Windows that can compile images into videos efficiently.
6. Exporting and Sharing
Once you're satisfied with how your timelapse looks, export the final video in the desired format. Formats like MP4 are widely accepted across platforms. Share your masterpiece online to engage and inspire others.
Benefits of Timelapse Photography
Creating timelapse photos doesn’t just result in fascinating visuals; it offers multiple benefits:
- Enhanced Storytelling: Timelapse allows photographers to convey longer narratives in concise formats.
- Improved Skills: Engaging in this technique trains you to be more mindful of your settings and the environment.
- Increased Creativity: This method encourages experimentation, pushing the boundaries of traditional photography.
Conclusion
In conclusion, learning how to make timelapse from photos is a valuable skill for any photographer ranging from amateurs to seasoned veterans. As you refine your technique and explore different subjects, you'll not only enhance your portfolio but also your appreciation for the passing of time, captured beautifully through each frame. Dive into this exciting world of photographic artistry with Bonomotion, where we help turn your photographic visions into breathtaking reality.
Join the Community
Engage with us on our platform to share your experiences, ask questions, and connect with like-minded photography enthusiasts. Together, we can explore the mesmerizing world of photography and the enchanting realm of timelapse photography.